
In general I try to reduce my purchasing anyway, always trying to be less materialistic... but I've made that into another post, it got too long and this post is about plants!
The point is, I may be a student and extra careful with my spending, but I think most people are constantly on the look out to save, and so here you have it:
How to grow plants... for (basically) nothing!
It's spring here, the time of year that people become interested in plants again. Every second catalogue is selling all sorts of marvellous things to set you off in the right direction for growing!
For a while now I've been collecting cans. Tomato cans, lentil cans, chickpea cans, you name it, but I've only been keeping the ones with interesting labels. These ones tend to cost a little more, but if your supermarket has a sale, then superb! So this is where you might spend a little money. Although, seeing as you are primarily getting food from the can I'm not even sure if I would count this as a cost. The saved cans will be used as pots for the plants.

I put holes in the bottom of my saved cans to allow for water to drain out. To do this I used a screw, a screw driver and a wooden spoon (in lieu of our mysterious disappearing hammer).


The screw was 'hammered' into the tin can until a hole was made, and then screwed further in with the screw diver to make a bigger hole. No need to screw it all the way in (in fact don't do this as it can be difficult to get out), just to the part where the screw gets thicker.
At that point I got my soil ready, it was just dirt that was from the grounds around my apartment. I found that the richest dirt came from under the tree near where the bins are kept - as if often the case.
The plants I got from around the place; from cuttings or from the ground; from the gardens of friends, neighbours, local areas or from the small garden down the back.


There's parsley in amongst all of that! I discovered there were quite a few parsley plants that had grown through the weeds, they must have seeded off earlier plants. I like the idea of the plants growing wild, but for the sake of a pot plant close to the kitchen, dug one of them up and transported it.


So here they all are: mint, tomatoes and parsley. I moved them from their original positions (as seen in my first post) afraid that they might get knocked over. Plus here they get the morning and a little bit of afternoon sun, the best type of sun!


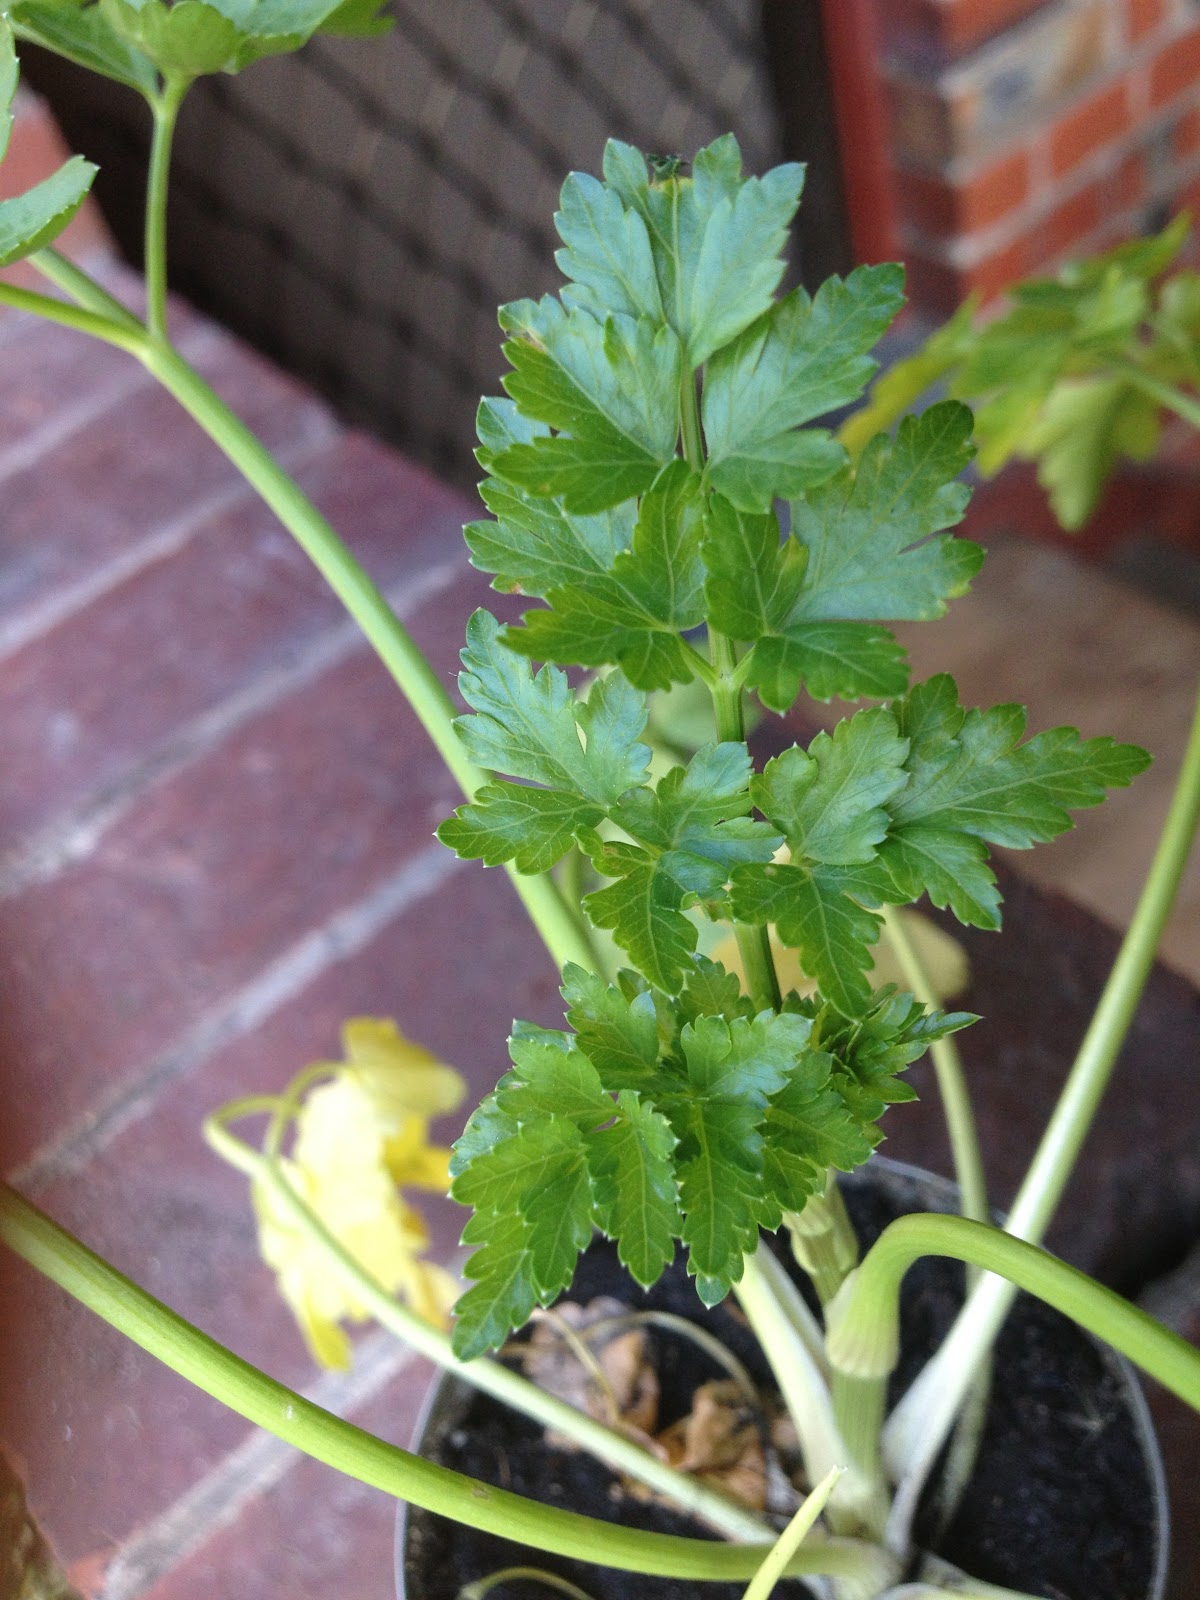
For a little while the outer stems of the parsley were turning yellow and dying, and I thought that maybe the parsley wouldn't make it. But then one morning, a week or so later, I came out to find...

this! A new set of leaves opening up to the world. Yay, my parsley was growing!
It has only continued to grow since, and the mint is starting to rocket up too!


So there you have it folks. Happy seasonal adventures!

(Yeah, what can I say? We eat a lot of beans - but such a staple to have in the cupboard for the vegetarian eater!)
I put holes in the bottom of my saved cans to allow for water to drain out. To do this I used a screw, a screw driver and a wooden spoon (in lieu of our mysterious disappearing hammer).


Ah yes, the plastic lid - to muffle the sound of the hammering into the can reverberating through the concrete.
The screw was 'hammered' into the tin can until a hole was made, and then screwed further in with the screw diver to make a bigger hole. No need to screw it all the way in (in fact don't do this as it can be difficult to get out), just to the part where the screw gets thicker.
At that point I got my soil ready, it was just dirt that was from the grounds around my apartment. I found that the richest dirt came from under the tree near where the bins are kept - as if often the case.
The plants I got from around the place; from cuttings or from the ground; from the gardens of friends, neighbours, local areas or from the small garden down the back.


There's parsley in amongst all of that! I discovered there were quite a few parsley plants that had grown through the weeds, they must have seeded off earlier plants. I like the idea of the plants growing wild, but for the sake of a pot plant close to the kitchen, dug one of them up and transported it.

Now this is a bit of a strange sight! It's a trick my dad taught me, to immerse a newly potted plant in water (the water really should go up a bit higher so that it runs over the top of the can/pot). The plant must stay in there until all of the air bubbles escape. It's a massive booster to plants, and has brought many a plant, weakened by drought, back from the dead! Really, truly try it sometime!

So here they all are: mint, tomatoes and parsley. I moved them from their original positions (as seen in my first post) afraid that they might get knocked over. Plus here they get the morning and a little bit of afternoon sun, the best type of sun!


For a little while the outer stems of the parsley were turning yellow and dying, and I thought that maybe the parsley wouldn't make it. But then one morning, a week or so later, I came out to find...
this! A new set of leaves opening up to the world. Yay, my parsley was growing!
It has only continued to grow since, and the mint is starting to rocket up too!


So there you have it folks. Happy seasonal adventures!
No comments:
Post a Comment